
Written by Seth Long, Damp Pro and Co · Last updated: 7 October 2026
1. What happens after a damp proof course injection?
An injected damp proof course is intended to limit moisture rising through suitable masonry. It does not instantly dry the wall or remove salts already carried into the plaster, so the internal finish may need separate attention.
Before replastering, the cause of damp should be established and other moisture sources addressed. Rain penetration, plumbing leaks and condensation will not be solved by a new DPC; our guide to a damp proof course explains its purpose.
- Confirm which plaster needs removing and the specified replacement system.
- Agree arrangements for skirting boards, sockets and cables before stripping starts.
- Keep the product instructions and decoration guidance with the work records.
2. Removing contaminated plaster
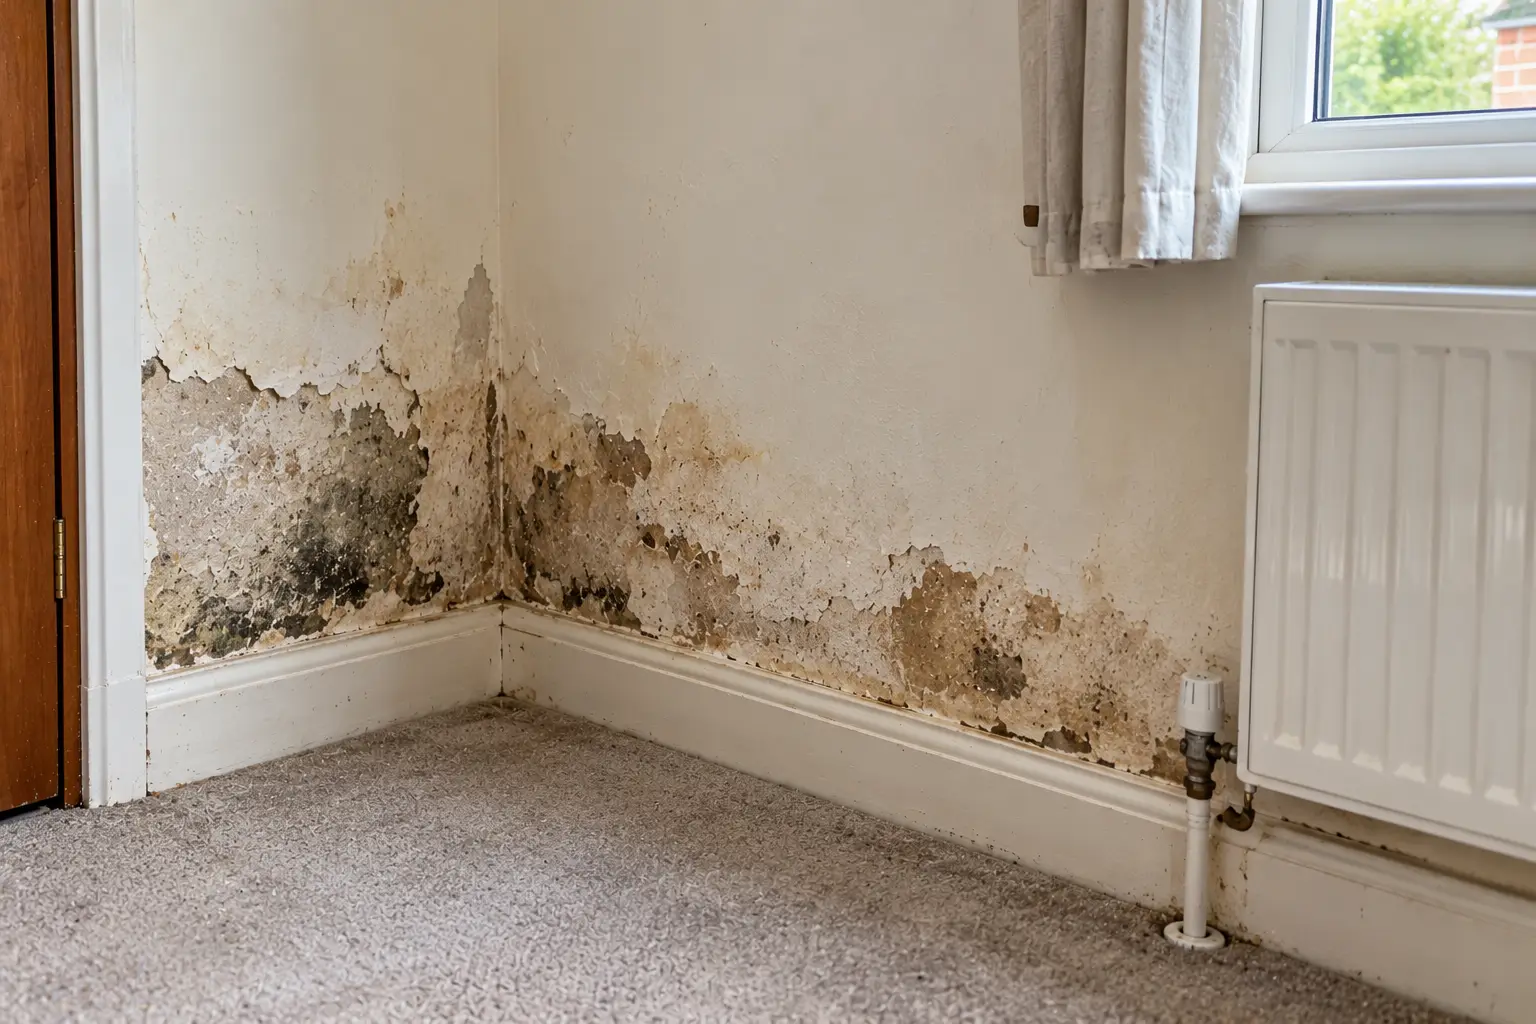
Old plaster affected by rising damp may contain salts that attract moisture from the air. This can leave a wall looking damp even after the original moisture supply has been controlled; see our explanation of salt on walls.
Removal is typically to about a metre above floor level, or above the highest visible damp or salt line where necessary. That is a starting point, not a universal cutting height: the extent of contamination and the replacement system's specification should determine the boundary.
Loose material and contaminated debris need clearing before the new finish goes on. Simply skimming over damaged plaster can leave the underlying problem in place, while unnecessary stripping of sound plaster adds disruption without an established reason. Hollow, crumbling or blown plaster is normally removed along with the salt-contaminated areas.
3. Choosing a salt-resistant replacement
The replacement is usually a specified salt-resistant render or renovation plaster system suitable for the wall and the damp proofing treatment. Its job is to manage residual salts while providing a suitable finish as the masonry dries.
Ordinary gypsum plaster should not automatically be substituted for the specified backing material on salt-contaminated masonry. Mixing products or changing coat thicknesses can undermine the system, so backing coats, finishes and curing intervals should follow the manufacturer's instructions.
Renovating plaster
A renovating plaster is a lightweight, porous plaster made for walls that have been affected by damp. It is designed to hold residual salts within its structure while letting the wall continue to dry, so they do not keep breaking through the finished surface.
Sand and cement render with a salt-resistant additive
Another common approach is a sand and cement backing coat mixed with a salt-resistant additive, then finished with a suitable top coat. The additive helps stop salts and moisture passing through to the surface, and the mix and coat thickness should follow the system specification.
Details at floor level matter
New plaster or render should not create a bridge across the damp proof course. The junction with the floor needs the specified separation, and older solid walls may require a compatible approach rather than a dense cement-based mix chosen by default.
4. How long will the wall take to dry?
Walls dry slowly after the source of moisture has been controlled. Roughly one month per 25mm of wall thickness is a commonly quoted rule of thumb, but it is not a completion date or a reliable prediction for every home.
Wall construction, initial saturation, external finishes, temperature and air movement all affect drying. A surface that feels dry does not prove the masonry behind it is dry, and salts can complicate readings from handheld moisture meters.
Replastering does not always have to wait until the whole wall has dried: some systems are designed for use during that process. Follow the specified interval after injection and use steady background warmth with sensible ventilation, rather than intense heat directed at fresh plaster.
5. When and how to decorate
Allow the new finish to cure and reach the condition required by its manufacturer before painting. The plastering date alone cannot tell you when it is ready, particularly where substantial moisture remains in the masonry.
Use a suitable breathable emulsion for the initial decoration, following both the plaster and paint instructions. If a mist coat is required, use the stated dilution rather than an improvised mix; not every renovation finish needs identical preparation.
Avoid wallpaper and low-permeability finishes during the initial drying period unless the system specifically permits them. Leave final decoration until drying has progressed sufficiently, and investigate returning stains or blistering instead of repeatedly covering them.
6. Skirting boards and electrical fittings
Skirting boards often need removing so the plaster behind them can be assessed and replaced. Retain sound boards where practical, but check their condition and allow the new finish to cure before refitting; do not conceal unresolved damp behind them.
Sockets and cables can lie within the area being stripped. A qualified electrician should handle any necessary isolation, removal or alteration, including checking that back boxes suit the finished wall depth.
Do not remove socket fronts or chip plaster around live fittings yourself. Agree the electrical arrangements beforehand so the plastering can proceed without unsafe improvisation.
7. Agree the scope before work starts
Ask for a clear distinction between DPC work, plaster removal, replacement finishes and making good. Our damp proofing cost guide explains the factors that affect the scope, including access and the area requiring attention.
Damp Pro and Co offers a free, no-obligation damp survey for homeowners. Completed DPC work carries a 20-year guarantee certificate; this does not extend to other work.
Questions about this topic
Does every injected wall need replastering?
Not necessarily. The decision depends on plaster condition, salt contamination and the treatment specification, rather than injection alone.
Can I keep plaster that looks sound?
Possibly, but appearance alone cannot establish whether it contains problematic salts. Have its condition assessed before deciding what to retain.
Can I replaster immediately after injection?
Only if the specified system allows it. Follow the injection and replastering product instructions rather than assuming a standard waiting period.
Is breathable paint enough to treat damp?
No. It can support drying, but it does not stop rising moisture, repair water entry or remove salts.
What if damp patches return?
Arrange a reassessment before redecorating. Residual moisture, salts, bridging or a separate water source may need distinguishing.
Can I use normal plaster after damp proofing?
Ordinary gypsum plaster is not recommended on salt-contaminated walls, because salts can break through it. A salt-resistant system such as renovating plaster is normally used.
Related guides
- Salt on walls
What white powder or fluffy deposits mean, efflorescence versus hygroscopic salts, and why salty plaster has to go.
- Damp proofing cost
What decides the price of DPC injection and rising damp treatment, and why a survey comes before any figure.
- Signs of rising damp
Tide marks, salty plaster, lifting skirting and the outside checks that show whether damp is rising from the ground.